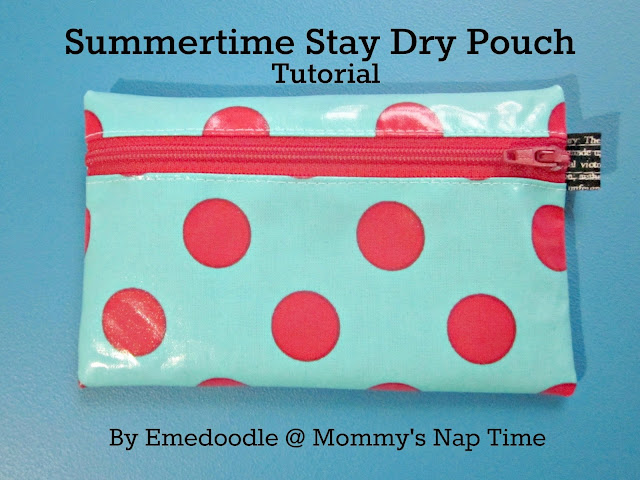
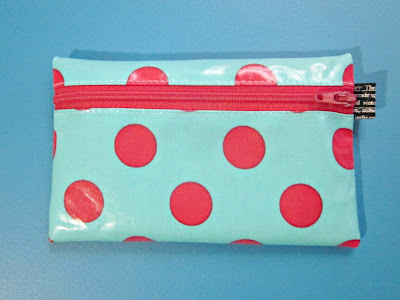
Summertime is on it's way (finally!). Of course my summer needs require a safe spot to stash my daughter's hearing aids while she runs through the sprinkler, or plays at the splash area at the local park. So, here you have a "splash proof" pouch. No it's not 100% water proof - but it's water resistant enough that your stuff won't get ruined if you throw a soggy towel on top of it. I've made this pouch to be roughly the size of an Iphone - I'll have to track down a tech savvy friend to see if it does indeed fit!
Final measurements: 5.75" x 3.5" (flat)
Supplied needed:
- 7.5" x 6.5" Laminated cotton fabric (or oilcloth)
- 7" (or longer) zipper
- 2.5" x 2.5" cotton fabric for pull loop / key ring loop
Prepare key ring loop:
(essentially we're making a bit of binding tape here - feel free to use a leftover scrap from another project, or a bit of ribbon - otherwise prepare the loop as follows.)
Fold 2.5" x 2.5" fabric in half and press with an iron.
Baste along the raw edges about 1/8" from the raw edge and set aside.
Assemble the pouch:
(Use your zipper foot attachment for the following steps)
lay the zipper along the 6.5" side of the laminated cotton fabric, right sides together, sew the zipper in place using a 1/4" seam allowance. (the zipper may slide around a bit, if you're having trouble keeping it all together use a bit of masking tape to hold it in place)
Fold the zipper back so that the seam allowances are away from the zipper. Finger press this fold (don't press with an iron, it'll melt your laminate fabric!)
(Switch back to the regular presser foot for the rest of the project.)
Zip the zipper partway (leaving at least 3-4" open) and turn so that the wrong side is facing out.
Fold so that the top fold is about 3/4" from the zipper teeth. (finger press a crease at the top and bottom.)
 |
| Insert pull tab under open end of the zipper. |
Insert the zipper pull tab centered under the open end of the zipper. The fold of the pull tab will be on the inside of the pouch, and the raw / basted edge will be aligned with the raw edge of the side of the pouch.
Baste pull tab into place using 1/4" seam allowances.
Sew along both open sizes of the pouch using a 1/4" seam allowance. Back stitch at the beginning and end of the seams, reinforce the ends of the zipper by sewing over that area twice.
Trim the excess length of the zipper, and clip corners.
Turn pouch right side out and enjoy!


that's so clever! Love it!
ReplyDeletecutie!
ReplyDeleteCute! I have some laminated cotton I want to try! Thanks for sharing!
ReplyDeleteUgh! I though I commented on this post yesterday.... technology is only good when it works! :(
ReplyDeleteI love this idea and I have the perfect little piece of laminate/oilcloth. I'm off to go make one of these now!
P.S. I have a waterproof otterbox for storing hearing aids...unused, that was given to me, if you would like to have it, just let me know :)
Oh, just wanted to let you know that my iPhone 4s does indeed fit inside the pouch very nicely. I know the iPhone 5 is larger, so I'm not sure if it would fit inside as easily.
ReplyDeleteThat zip matches perfectly :)
ReplyDelete