Tuesday, February 18, 2014

Covered Seam Finishing Tutorial: The Aragon Bag

Aragon Bag!!

Last month my guild hosted Sara Lawson for a workshop on her Aragon Bag. It was a really fantastic workshop and I was lucky enough to be the guild appointed "helper" for the workshop. So I made my bag ahead of time and came to the meeting prepared to help wherever needed - fusing interfacing, assuring people that they did indeed have it put together right, etc. It was pretty fun! 
Of course I made the Aragon bag ahead of time - and it came together so nicely! I can't even begin to tell you just how smoothly - I didn't swear or anything! I'm so proud of how polished this bag is! There were some major Aha! moments throughout - points where I read the step and couldn't imagine a better way to do the step - it all fit together so nicely - all the little details!

So, on to the bag. I had finished my bag before the workshop - all but the bias binding around the inside raw edges. Ugh. That part... I don't like hand sewing. My hands don't like hand sewing... so I devised a plan to not sew that by hand - and it worked!! Here's how:

Covered seam finishing mini tutorial:
Materials needed:
Fabric
Iron
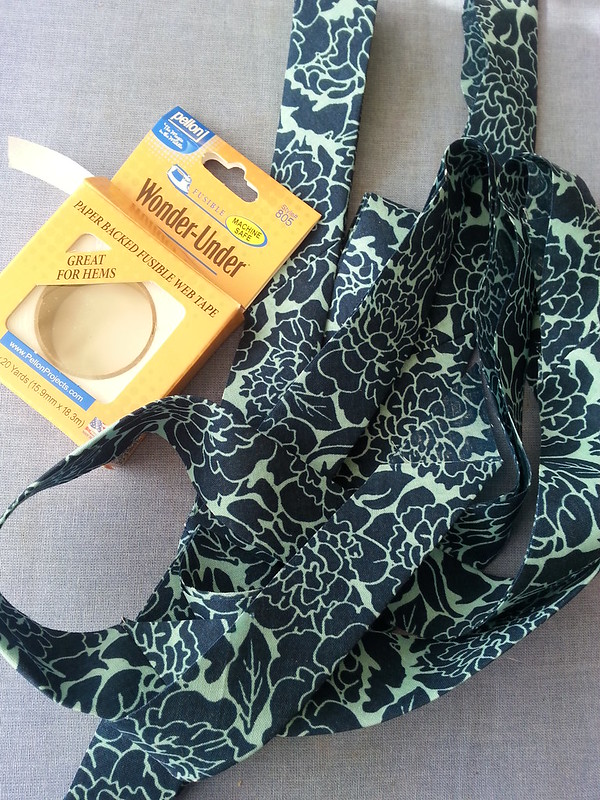
Bias tape, folded in half.

First make yourself some bias tape - it really does need to be on the bias!
Cut your strips 2 1/2" wide (cut as many yards as the pattern calls for). 

Next press the strip in half right sides together. 
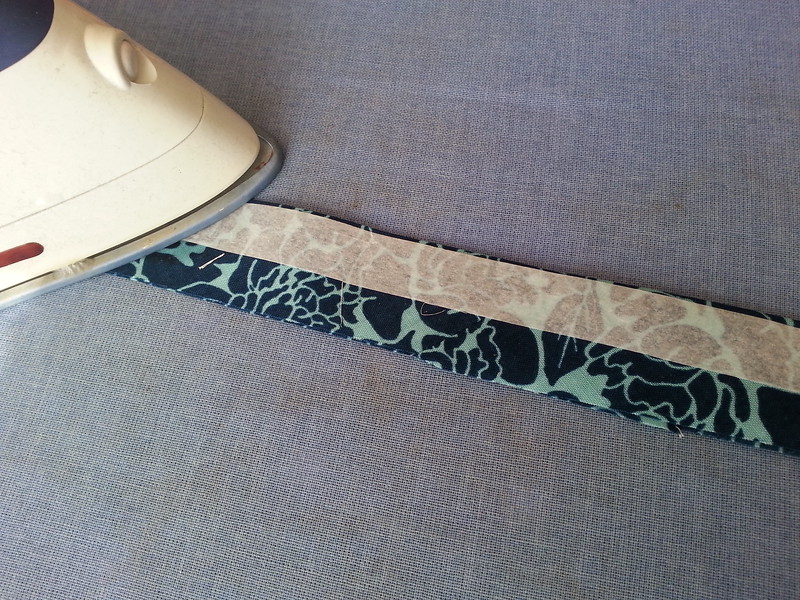
Fuse the wonder under along the folded edge.

Then lay the Wonder Under tape along the folded edge (on the right side of the fabric) and press it (according to the directions) along the entire length of the bias tape.

Leaving the paper in tact sew the raw edge (paper side up) along one side of your seam. I used a ton of clover binding clips to hold it in place.
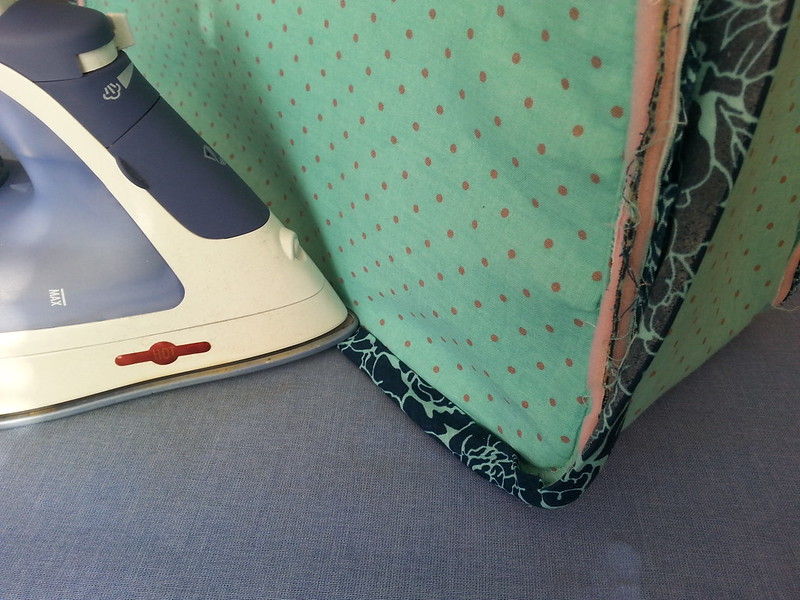
Carefully press.

Peel off the paper and carefully press the bias tape over and around the raw edge seam. Use an occasional clover binding clip to secure the binding to the edge long enough for the Wonder Under to cool. Be sure to pull the bias tape taught enough that it covers past the seam line. (tip, in a few places I found it necessary to trim the seam allowance down just a bit).
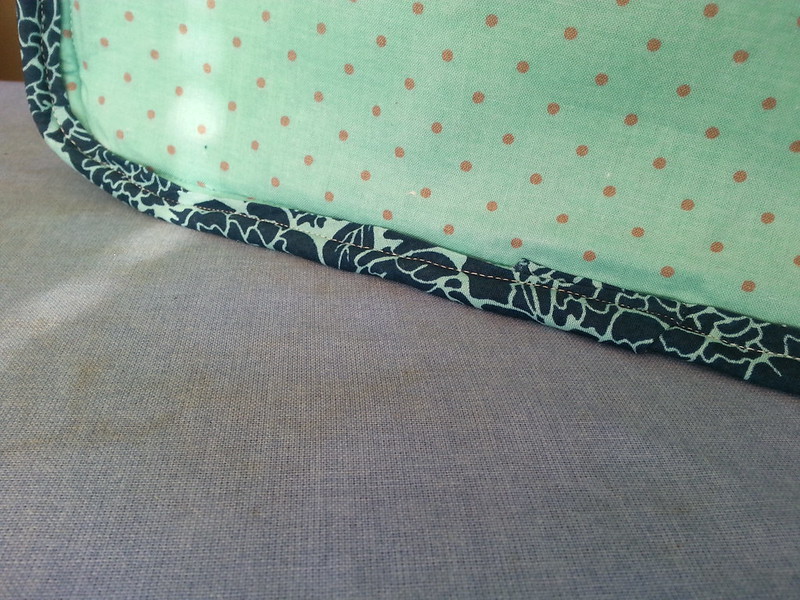
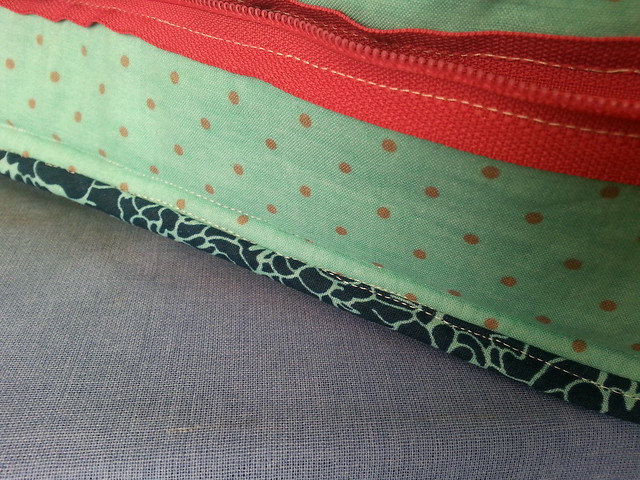
Image from the folded edge side.

Carefully sew along the folded edge. 

Image from the opposite side. It doesn't matter much if your seams are perfect - covered is all you're looking for.


Tada! Completely machine sewn covered seams! 
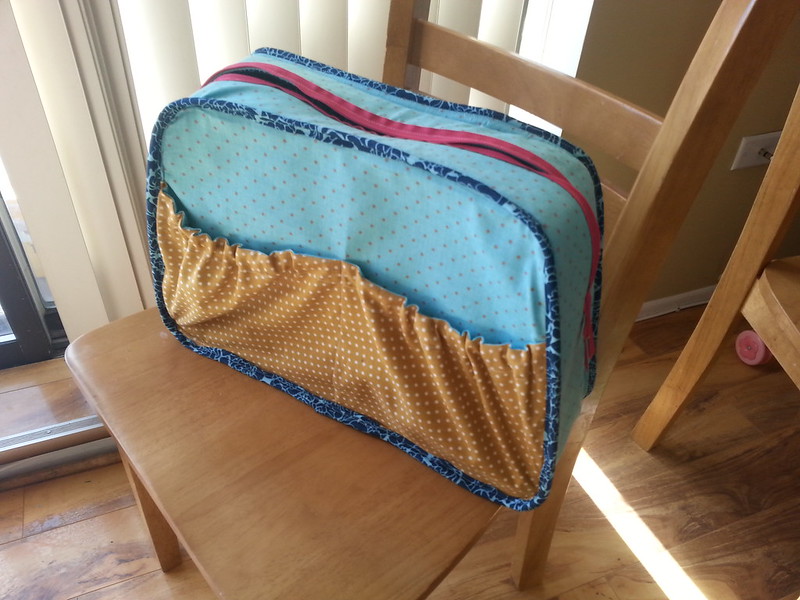
Completely covered in so little time! 

I really enjoyed sewing this Aragon Bag and now I'm able to say that all along I was making it for m mom! She came to visit last weekend and she had no idea that the bag was for her!! Happy early (early) mother's day Mom!! 


Friday, February 14, 2014

Imagine Gnats - Indiegogo Fundraiser.

I'm popping in real quick today to let my readers know about a fabulous pattern designer Rachael of Imagine Gnats, and her goals to print paper versions of her current PDF clothing patterns. 

Photo by Imagine Gnats

Rachael has a fab blog, and a set of great clothing patterns for children and adults. You can check out her patterns here

Photo by Imagine Gnats
Rachael wants to grow her business to include paper versions of her current PDF patterns. If you have a moment check out her Indiegogo fundraiser here, and please consider supporting a friend and fellow crafter to reach her dreams! Thanks! 

As a thank you for your support Rachael will give away one of her clothing pattern PDF's to one of my readers. To enter please check out her page and let me know your fav pattern - and of course please consider donating to her fundraiser (even a dollar helps!).

Friday, February 7, 2014

Doll Quilt Swap 14 - Received!

The other day I received the most amazing mini quilt in the mail!

Photo by Andrea

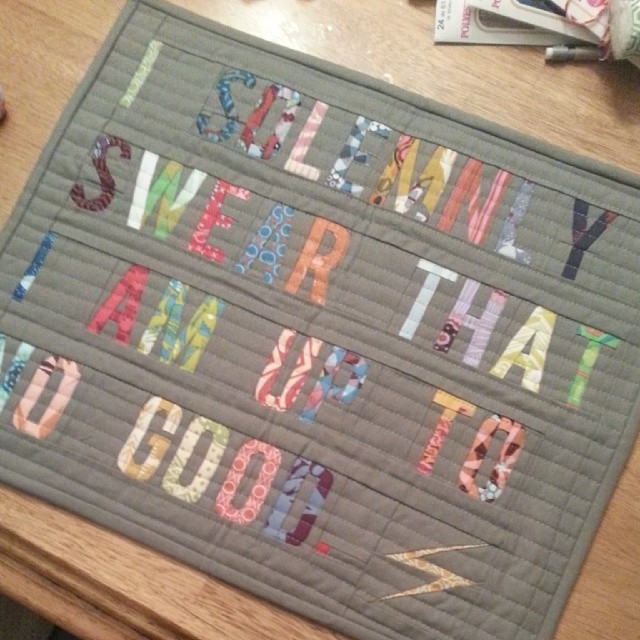
I was very intrigued last week when Andrea shared a sneak peek of her DQS quilt back - Anna Maria Horner fabric - the caption of the photo said that this was all that she could share without giving it away. The extras she showed were all fantastic drool-worthy Anna Maria Horner fabric scraps... and well I started wishing and hoping for that quilt to come to me! Without even having seen the front I secretly hoped it was Harry Potter related.


You see, at the beginning of each swap everyone fills out a questionnaire stating their likes and dislikes. Along with the typical stuff (I'm obsessed with AMH fabric, paper piecing, tiny quilt blocks etc) in my questionnaire I said I'd adore a Harry Potter themed mini. Apparently all I had to do was ask!!

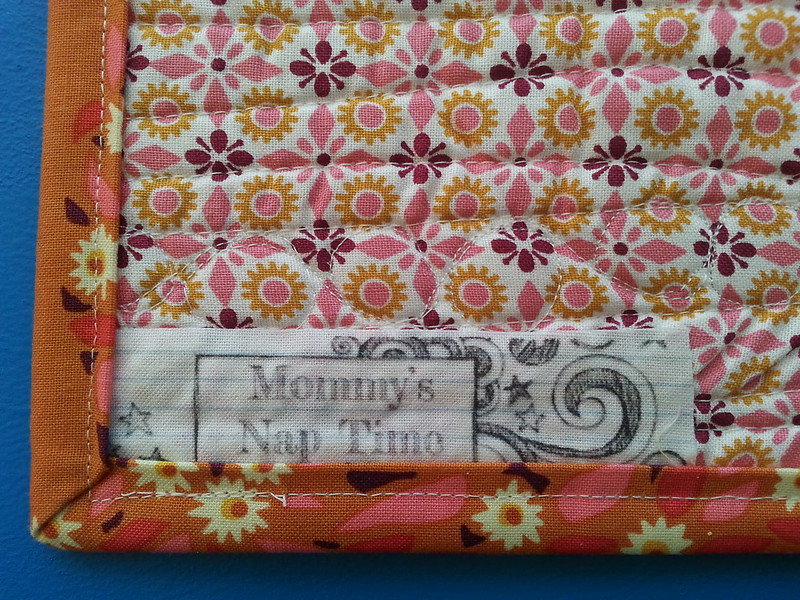
Best quilt label ever!!
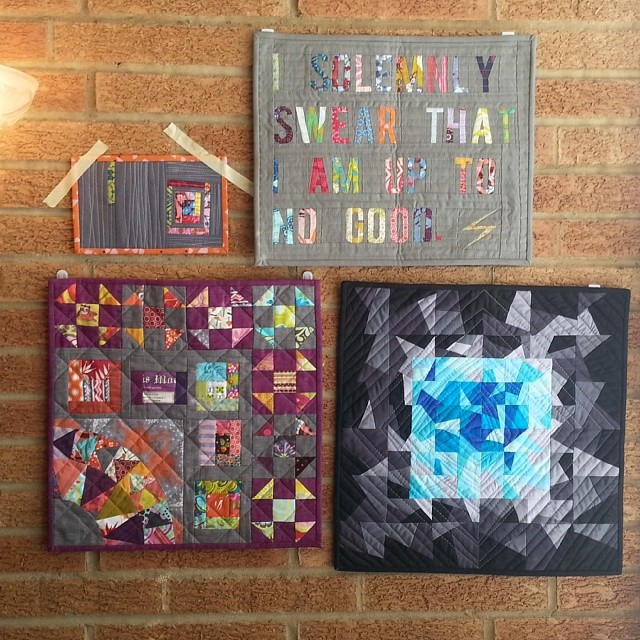
Andrea's quilt did indeed come to me! I couldn't be happier!! It really is just perfect!! I was so excited that this afternoon I re-arranged my mini quilt wall. I chose to hang the mini quilts from the last three rounds of the Doll Quilt Swap. I ran out of command hooks so once I restock those I'll have to see how many more mini's will fit on that little wall!

Thank you so much Andrea! You put a lot of effort into piecing this tiny little quilt - and the perfection is astounding! I hope you know your quilt will bring a smile to my face every day! :)


Friday, January 31, 2014

Doll Quilt Swap 14 - and new traditions.


It's 8:00 on Friday morning. Friday. One of my only days to sleep in. Well, those days are over I guess. Allie and I have started a new tradition. Friday morning I wake up BEFORE her (ugh). And once she's up I make breakfast and coffee. She sits next to me watching cartoons (It's The Magic School Bus today), and I sit next to her and catch up on email stuff - for just a few minutes. So far it's working and she's happier. I guess maybe Friday's can be my one morning to write a blog post? 


I'm still working hard at work and working hard at home to find a couple nights a week to dive into my sewing. It's not an easy thing - I miss my 3am sewing sessions! 

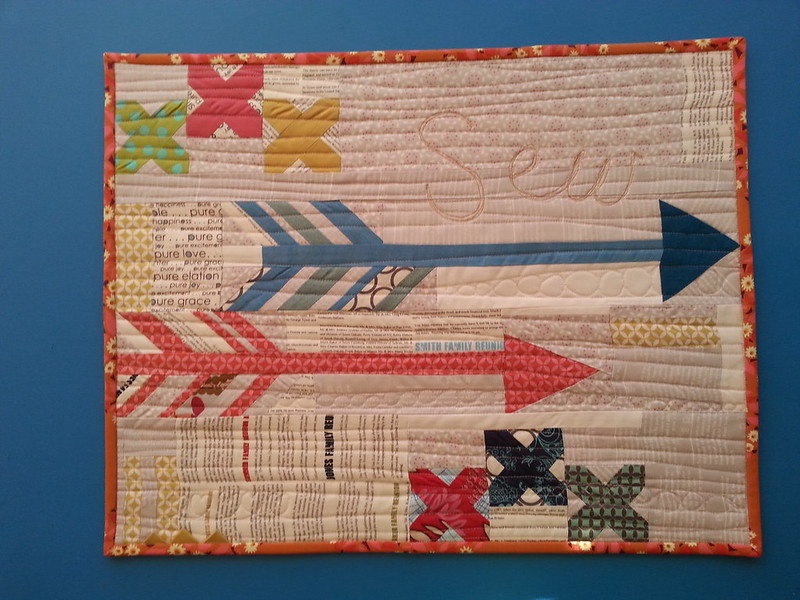
The past few weeks I've been pushing myself to finish my Doll Quilt Swap mini. Today is the due date for it and I just finished on Weds!! My swap partner had very simple requests (one sentence). After a bit of stalking her flickr I realized that her style is pretty similar to mine. She likes Anna Maria Horner and Tula Pink, she likes saturated colors and low volume texty backgrounds. With that I got started sketching. 


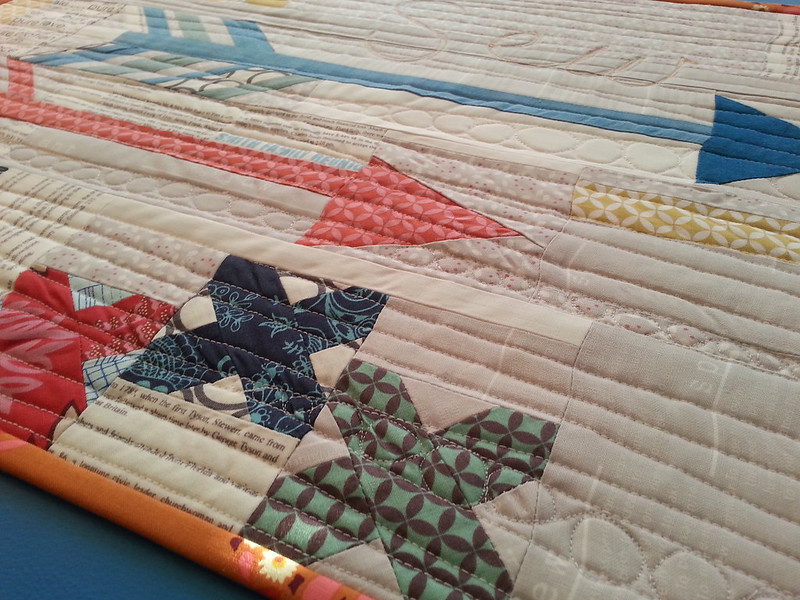
My sketches were all over the place but ultimately I went with this layout because I wanted to sew these blocks. I've been looking for an excuse to try these arrows. 


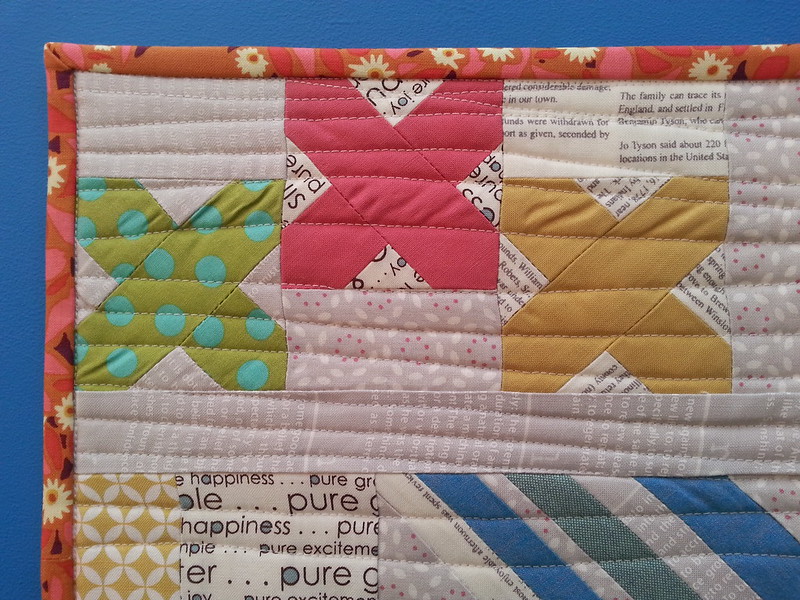
I used some favorite fabrics and I'm a little surprised that I managed to use so much of that Sweetwater newsprint fabric (it's OOP and I love it). I knew my partner would love it too though, so it's worth it!


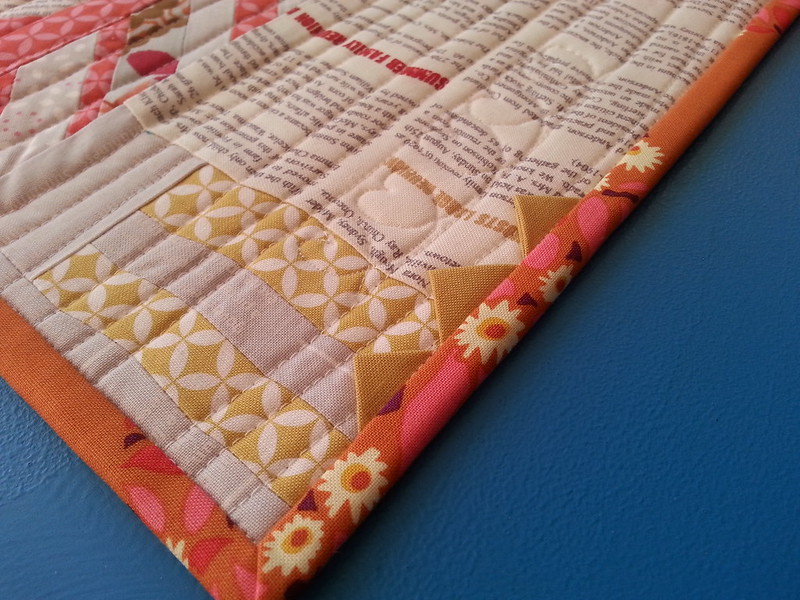
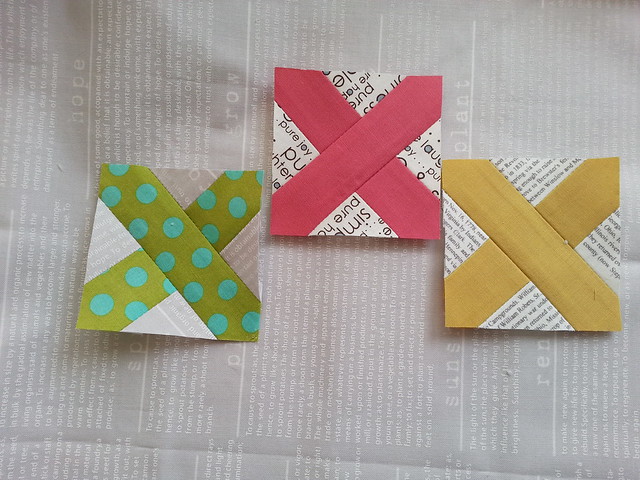
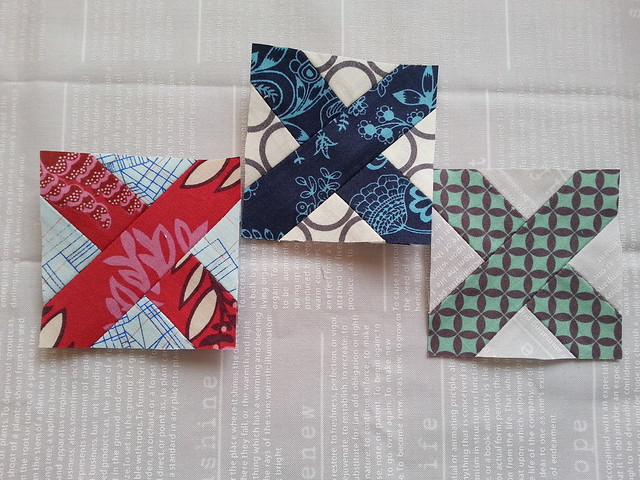
Now for the details. The cross stitch blocks were made following Alyssa / Pile O' Fabric's tutorial. They finished at 2". The arrows were pieced freely (no pattern, just playing around) they finished at 3.5" x 16". The total quilt measures 16" x 21". 

I'm mailing this little quilt to my partner today and I sure hope she loves it!!

Monday, January 20, 2014

Economy Block Along


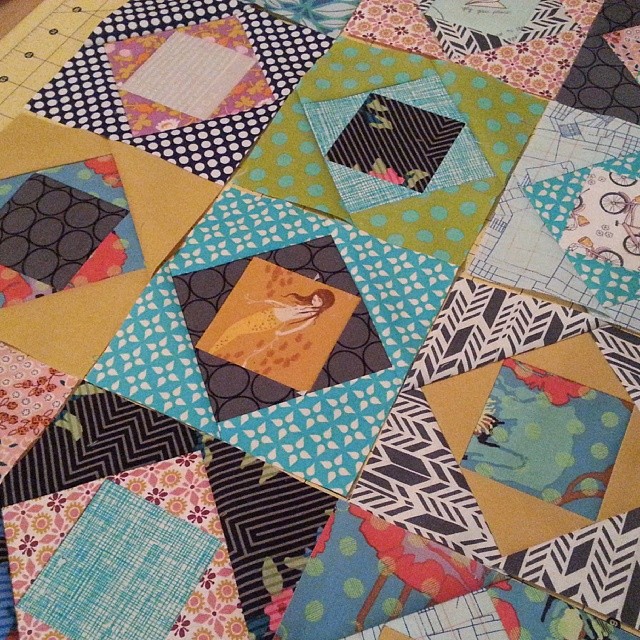
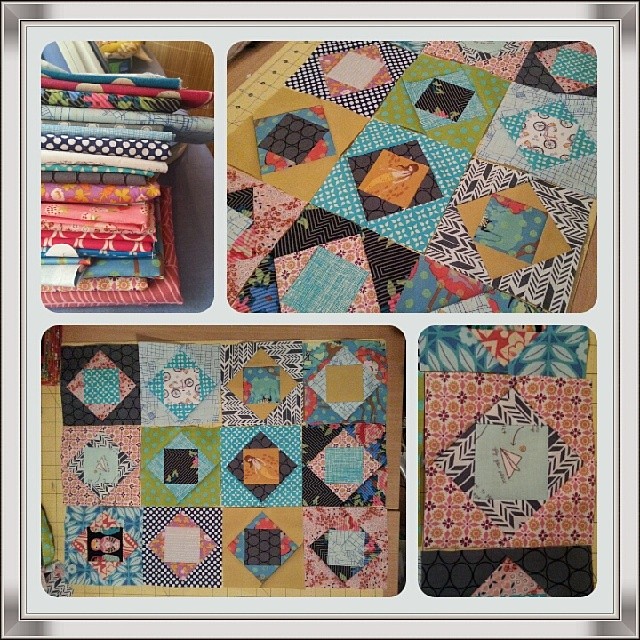
Have you all seen the cute economy blocks / square in square blocks popping up all over (instagram #economyblockalong)? A couple weeks ago I jumped in and made 12 of them. Mine are 5" finished blocks pieced according to the tutorial on Rita / Red Pepper Quilts' blog.


I cut all the pieces ahead of time and then chain pieced them all at once. It was a fun little project, but now I need to decide on a color for a large (off center?) border around them so they'll finish as as mini quilt for my wall. I'm considering Moda Bella Strawberry. I think the colors pop with it... and I have some on hand. It seems like whenever I buy yardage of solids I use them immediately in EVERY project until they're all gone. That's not a problem right now, since I recently bought yardage of Kona Curry and Bella Strawberry. These are my favorite two solids and they seem to go pretty well together I think. 

I'll certainly have to come back to this little economy quilt top sometime soon - I have a couple serious quilt deadlines to work around right now so this one is on the back burner for a little while. 

Friday, January 17, 2014

Doll Quilt Swap 14 - Finally a bit of progress!


We're nearing the end of the 14th round of the Doll Quilt Swap on flickr. I can't believe it! I was working thinking that the final mail date was Feb 14, not Jan 31! Oops! 


This week I really buckled down and settled on a sketch. I picked out my fabric and now today I found a bit of time to sew! I have completed 7 cross stitch blocks (the tutorial for these can be found at Pile O' Fabric). The blocks finish at just 2 1/2" and that makes me happy! I'm going to work on some free pieced arrows to add to this... and I'm adding FMQ text too. I sure hope my partner loves it because I love it a lot already!


I'm hoping to have some time next week to keep working on this. I'm really inspired by so much of the work I'm seeing in the DQS group right now. It's just the inspiration I need to push through the rest of this dreary and COLD winter. I'm ready for some sunshine!


Wednesday, January 8, 2014

Quilting and Henna...


Here's some pretty henna work my sister did on me over Christmas break. I love the graphic nature of henna - so bold! It's wearable art without the permanence of a tattoo! Oh and admiring henna while cuddled under a made-by-me quilt (my mom's) makes it even more awesome!

I hope you're all finding quilty inspiration all over the place!