As all of my regular readers know, I love tiny piecing. I also have recently been captivated by wonky stars. I first learned to do wonky stars
here, but the tutorial there creates a 12" block. Awesome for a full size quilt, not so great for a doll quilt, or a pillow. Obviously you can just scale down your pieces, but to make a star so tiny (a mere two inches) you'd go crazy trying to sew those bits together. So read along and see how I make mine so tiny.
First, read and understand how to make a wonky star (
link here, but I use a full square for each point, it's less work. You can also check out
this link for more uses of interfacing to get perfect tiny points).
Cut a stack of 1.5" squares (9 of your star color, 8 of your background color); assemble the four point segments according to the above tutorial. Trim and iron seams open (this is really important since this star will be quite bulky).
Now using a grid ruler trim the sections to 1" square. Line up your point sections as such. The spot where your two points meet should not be within 1/4" of your edge (otherwise it will end up in your seam allowance after sewn). I like to keep this spot just a smidgen more than 1/4" from the edge, and centered.
The points of your star shouldn't be within a quarter inch of the other edge, or they'll be lost too. Before you make each cut look at those dots and make sure you line them up properly or you'll be losing the points of your stars!
You'll now want to cut a 3" piece of light weight fusible interfacing (I use Pellon brand a bolt of which I found for just a couple bucks on clearance). Trim down one star colored fabric to 1" and you're ready for the next step.
Lay the fusible interfacing glue side up on your ironing board, lay the first three segments of your star in a row (background fabric, star segment, background segment), and iron just those three to secure (be careful not to let your iron touch the rest of the interfacing). Do the same for the other two rows of squares. It will look like this:
Now fold one row to the side right between the fabric pieces, like so:
Sew along that fold using a scant 1/4" seam allowance.
Do the same for the seam parallel to the one you just sewed.
Using scissors carefuly trim just a very little bit off of your seam allowances (to cut the interfacing). Iron seams open. This may be tricky, I generally use a few sprays of water to help set my seams cleanly.
Now go and sew the other two seams the same way, cutting and pressing the seam allowances open.
Once all the seams are sewn give it a good press, again using a spray of water or starch to help it set. Trim down those corner pieces and you're finished!
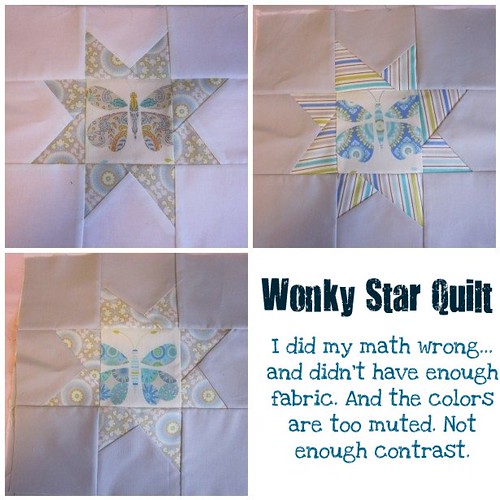
And just as a good example of a bad example, here's what you'll get if you don't measure those cuts just right:


